Vish G
August 31, 2025
A luxurious red velvet ice cream made with real ingredients gives you the classic cocoa and cream cheese flavour with a beautiful natural red hue. It’s super rich smooth making it perfect for a homemade summer treat that everyone of all ages will love. With ripples of cream cheese hidden into every bite this takes the creaminess to another level. We enjoy making this when we’re craving a frozen dessert with a side of some hot fudgy brownie that’s freshly baked for a yummy hot ‘n’ cold combo.
Pairing Suggestions
PREP TIME
20 MIN
COOK TIME
30 MIN
SERVINGS
10
Natural red pigments like those in pomegranate, hibiscus and beet are sensitive to heat, pH and time. They can fade or shift colour in a dairy base that sits near neutral pH. Use natural reds late and cold (as a cold reduction, powder or ripple) and choose an acidic element in the base such as a little buttermilk or sour cream to help the colour stay more vivid.
Red velvet is about a mild cocoa note plus a gentle tang. Use natural cocoa (not Dutch processed) for that classic mild chocolate, add a small amount of buttermilk or sour cream for tang and finish with a cream cheese ripple to echo the cake’s frosting. That trio gives the right flavour profile without overpowering the colouring choices.
Hibiscus gives a clean, berry like red and is forgiving in small concentrated amounts but use it as a steeped concentrate or cold addition so it does not thin the mix. Beet powder or a tiny beet concentrate gives the deepest most reliable red in dairy though beet can add an earthy note if you use too much. Pomegranate and freeze dried berry powders give lovely colour and flavour depth but are less heat stable and work best as reductions or ripples rather than large volumes of added liquid. Decide by whether you want a flavour forward colour (pomegranate/hibiscus) or the most stable tint (beet powder).
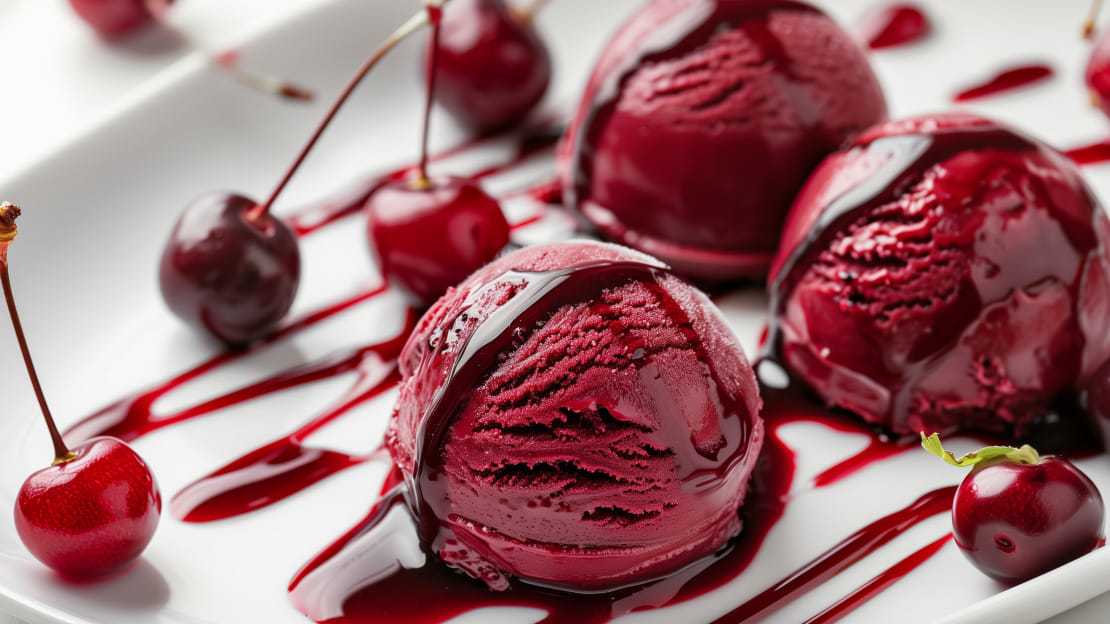
Icy texture usually comes from too much free water or slow freezing; graininess can come from fat that hasn’t been emulsified or from sugar/lactose not dissolving. Use less free water (prefer powders, reductions or molasses rather than straight fruit juice), chill the base thoroughly before churning, freeze quickly after churning and consider a stabiliser (a little corn syrup, glucose or a small amount of cream cheese ripple) to keep crystals small. For no-churn versions whipped cream plus sweetened condensed milk reduces ice crystals and gives a nice creamy mouthfeel. We love using this as an alternative to sugar whenever we've run out or want to give our dessert a bit more depth of flavour.
Make the cream cheese ribbon fairly soft (beat it with a little icing sugar and a splash of milk or cream until pipeable), fold it in or ripple it in at the last minute of churning then transfer quickly to the tub and freeze. Adding it late keeps it distinct and prevents it from fully integrating and freezing solid. A slightly higher sugar content in the ribbon helps it remain scoopable.
Homemade ice cream is best within 2-4 weeks in the freezer. It will keep longer but quality drops as ice crystals grow and flavour fades. Store in a flat airtight container, press a piece of greaseproof or cling film directly onto the surface to minimise air contact and keep it in the coldest part of your freezer rather than the door. Re-freeze as little as possible and refreeze quickly after scooping to preserve texture.
Nutrition Facts
Calories
292
Total Fats
20 g
Saturated Fats
12 g
Cholesterol
66 mg
Sodium
97 mg
Total Carbohydrates
25 g
Sugars
23 g
Protein
4 g
Search our tested recipe collection!
From weeknight staples to show stopping desserts, all tried and re-tested.
How Did It Turn Out?
4.8 / 5. Vote count: 104
No votes so far! Be the first to rate this post.