



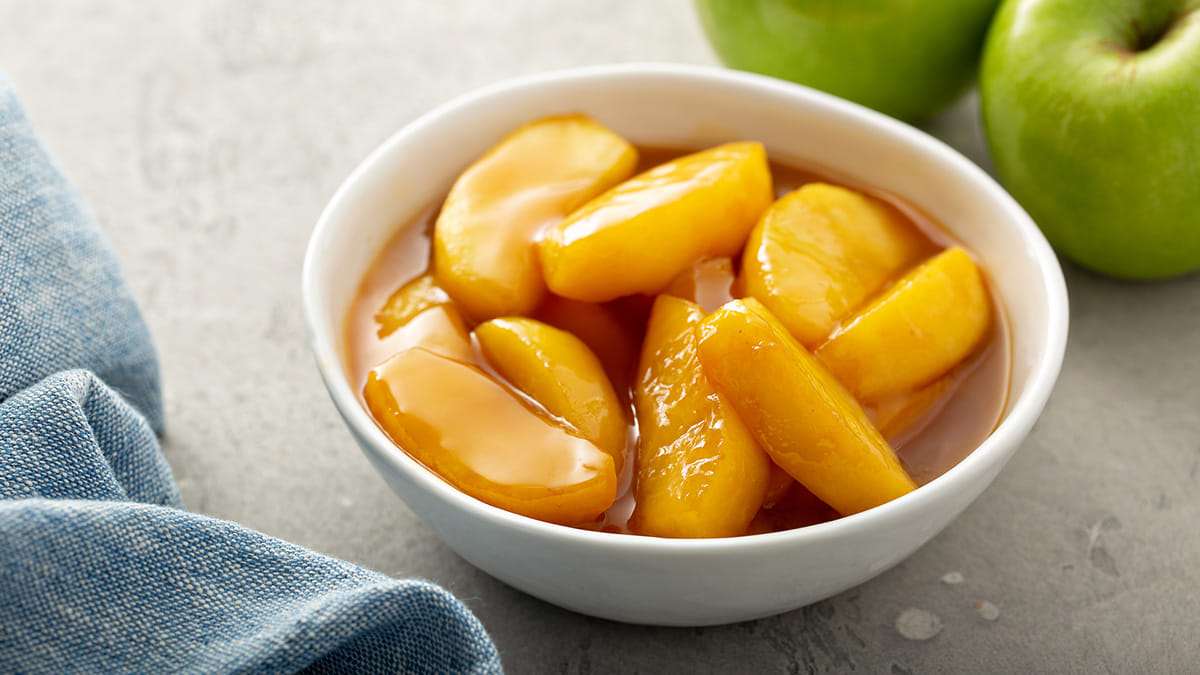
Absolutely you can keep it frozen. Apple pie filling is simply the cooked mixture of sliced apples, sugar, spices and a thickening agent that goes into a pie crust before baking. You can freeze it raw before baking or as part of a fully baked pie. In our own kitchen tests we’ve found the raw filling held its texture better than filling that had already been through the oven once.
That’s the short summary. Now let’s get into the why, the how and the small details that decide whether your dessert turns out great or turns into apple soup.
Freezing Before Baking vs After Baking: Which One Wins?
This is the part most blogs skip and it actually changes the outcome quite a bit.
When you freeze the filling before it ever meets a pie crust you usually end up with a fresher apple flavour. You also get a flakier crust once you finally bake it. A pie crust behaves a bit like a sponge. The moment it touches wet filling, moisture starts soaking in. Bake your pie first then freeze it and that soaking process runs for hours through cooling, freezing and thawing.
Freeze the apple pie filling on its own or freeze a whole unbaked pie and the crust stays dry and sealed until it’s inside a hot oven. America’s Test Kitchen ran side by side comparisons of this exact question. Their pies frozen raw came out tasting almost identical to a same day fresh bake. Pies baked first and frozen after often lost some of that crispiness in the bottom layer.
In our own trial runs we froze two batches of the same apple mixture, one raw and one already baked. The raw batch won on texture every single time. So if you have a choice, freeze the filling before baking. Your future self and your crust will thank you.
How to Freeze Unbaked Pie Filling
This method is easy and it barely adds any extra work once your filling is cooked.
Make your filling as usual with apples, sugar, spices and a thickener.
Let it cool completely. Warm filling trapped in a sealed bag creates steam. That steam turns into ice crystals and those crystals turn into a watery filling later.
Spoon the cooled mixture into a freezer bag or a container with a tight lid. Push out as much air as possible.
Lay the bag flat on a tray in the freezer. Once frozen solid you can stack the bags like books to save space.
Label it with the date since every batch of frozen filling looks the same after a few weeks.
As a rough guide a standard 9 inch pie needs about 4 cups of filling. A smaller 7 inch pan needs closer to 2 cups and a deep dish pie can use 5 to 6 cups.
You can also shape the apple pie filling right in the pie dish before freezing it. Line the dish with a bag, pack in the mixture, freeze until solid then pop the frozen disc out. Your good pie dish is free again and you have a ready made puck of filling waiting for a crust. Add 20 to 25 extra minutes to your bake time if you use this shortcut since it starts from frozen.
Freezing a Whole Assembled Pie
If you want to go all in, build the entire pie, top crust included, then freeze it before it ever sees an oven.
A few tips make a real difference here.
Skip the vent slits in the top crust until right before baking, since freezing can dry out an already cut crust or cause cracking. Freeze the pie uncovered until it is completely solid first then wrap it tightly in plastic wrap or foil. Wrapping too soon can squash the crust before it firms up. Store it flat so it keeps its shape.
Plenty of home bakers across the United States use this exact trick before Thanksgiving so they’re not stuck rolling out pastry at midnight. It’s a genuinely handy way to save you time during a busy holiday.
Freezing a Pie That Is Already Baked
Sometimes life happens and you end up with a whole baked treat you can’t finish in time.
Let the pie cool completely first for ideally around 8 hours. A warm pie sealed straight in the freezer traps steam inside the wrap and that moisture has nowhere to go but into your crust. Freeze it uncovered until it’s solid then wrap it well in plastic and foil or slide it into a freezer bag. Be sure to store it flat on a shelf. This is something we learnt after our own mistakes along the way.
Baked pies frozen this way are perfectly fine to eat later. They’ll just be missing the same crispy bottom crust as filling frozen and baked from scratch. Most people at a dinner table will likely never notice the difference anyway so don’t stress over it.
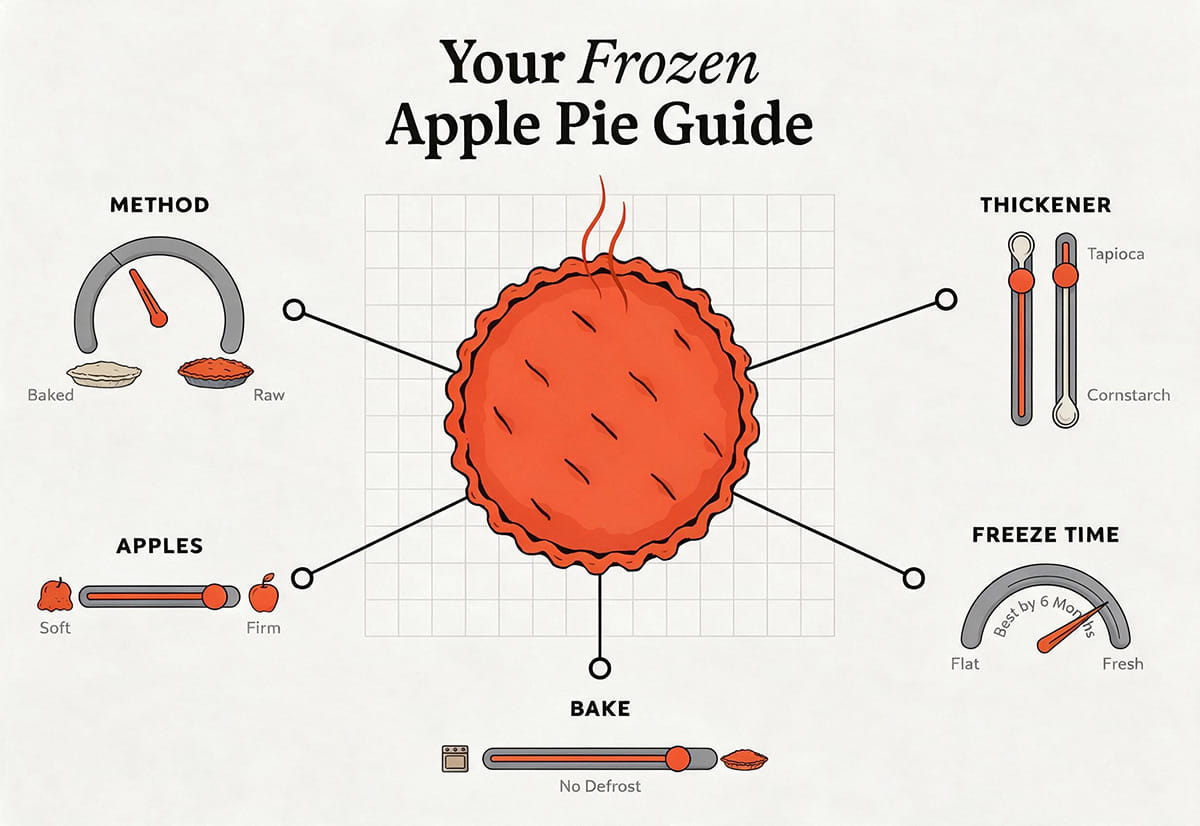
The Thickening Agent Decision That Actually Matters
Here is something most food sites seem to miss and it happens to be the biggest reason frozen apple pie filling turns watery or gluey.
Cornstarch and plain flour are brilliant for a same day bake. They set up glossy and clear. The catch is neither one holds up well through a freeze and thaw cycle. Their starch structure breaks down once frozen so the filling can turn thin and weepy once thawed, almost like the apples are crying.
Quick cooking tapioca does a noticeably better job. It keeps its structure through the freezer far more reliably. If you want the professional standard, reach for Instant Clear Jel. A modified cornstarch that commercial bakeries rely on because it stays thick through repeated freezing, thawing and reheating.
We tested this ourselves with two batches of the same apple mixture, one thickened with cornstarch and one with tapioca, both frozen for 4 full weeks. The cornstarch batch turned noticeably runnier once thawed. The tapioca version held its shape almost exactly like the day it was made. One small ingredient swap made a genuinely big difference in the final pie filling.
Food scientists at Iowa State University’s Extension program have found similar results when studying starches for frozen and canned goods, which lines up with what we saw in our own kitchen.
Best Apples to Use and How to Stop Browning
Not every apple variety is cut out for the freezer. Soft varieties tend to turn mushy once thawed which is the last thing you want inside a good dessert.
Stick with firm crisp apples such as Granny Smith, Honeycrisp, Jonagold or Braeburn. These hold their shape through cooking, freezing and a second round of baking without collapsing into applesauce.
To stop apple slices from browning while you prep, toss them in cold water with a splash of lemon juice, roughly a quarter cup of juice for every 4 cups of water. The acid slows down the natural browning reaction that happens the moment apple flesh meets air. It is the same reason a sliced apple in a lunch box turns brown by midday unless it gets a splash of citrus first.
The National Center for Home Food Preservation, a food safety research group based at the University of Georgia recommends this exact lemon juice or vitamin C soak for anyone freezing apples for apple pie filling.
How to Bake a Frozen Pie Filling
Good news you don’t need to defrost it first. Defrosting an unbaked pie before baking usually makes the crust soggier not better.
Here is a method that works well. Preheat your oven to 425°F or about 220°C. Place the frozen pie straight in, no need to wait for it to soften. Bake for 15 to 20 minutes at that high heat to help the crust set quickly. Lower the temperature to 375°F or 190°C and continue baking for another 40 to 50 minutes. Cover the edges loosely with foil if they start browning too fast so the middle has time to catch up. You will know it’s ready when the filling bubbles up through the vents and the crust turns a deep golden brown.
If you froze just the filling rather than a whole pie, thaw it in the fridge overnight first then use it exactly like fresh filling in your favourite crust.
How to Thaw Frozen Filling Safely
If you froze just the filling on its own, thaw it in the refrigerator. This usually takes 24 to 48 hours depending on the amount. Leaving frozen filling out on the counter for hours is not a great idea from a food safety standpoint since it sits in a lukewarm place for too long.
Already baked a pie and have leftovers to enjoy? Let it thaw at room temperature for about 1 hour then warm it in the oven at 375°F for around 30 minutes until heated through and the crust crisps back up.
So How Long Can You Actually Freeze It For?
This is where I want to be straight with you rather than telling you what sounds impressive.
The USDA notes that food kept continuously at 0°F stays safe to eat for a long stretch of time. That part is true and some extension guides even list frozen fruit pies as good for 8 to 12 months from a pure safety standpoint. But safe to eat and tasting great are two very different things.
Natural sugars, spices and apple flavour fade the longer filling sits in the freezer. In our experience testing batches at the 1 month, 2 month and 6 month mark. The six month batch still tasted decent enough while flavour started to noticeably flatten out beyond that point.
Our honest recommendation is to use your frozen apple filling within 2 months for the best flavour and texture. Up to 6 months is still fine but just not as fresh tasting as the 2 month mark. Think of your freezer as a short term parking spot for apple pie filling not a long term storage unit. Fresh really is best like we say to our readers. Freezing should just be your backup plan for busy weeks not a replacement for baking a fresh pie whenever you have the time.
Signs Your Frozen Filling Has Gone Downhill
A few things to check before using up an older batch of pie filling. Ice crystals covering the surface usually mean it went through a temperature swing at some point. A dull greyish tint to the apples instead of their normal colour is another clue. A stale or flat smell once thawed is worth trusting too even if nothing looks obviously wrong.
None of these signs mean the filling will make you sick. They just mean the quality has slipped so you might get more enjoyment turning it into a delicious crumble or a bread pudding rather than showcasing it in a pie with a delicate crust.
My Final Thoughts
Freezing pie filling is a genuinely handy trick to keep in your back pocket, whether you are prepping ahead for the holidays or simply making the most of a big bag of orchard apples. Freeze your filling raw for the best texture, choose a freezer friendly thickener like tapioca or Instant Clear Jel, stick to more solid apple varieties and aim to use up your pie filling within about 6 months for the best taste.
Once your apple pie filling is sorted turn it into a sweet treat with homemade filling any night of the week or use it as the base for a creamy apple custard pie if you fancy something a little different on the dessert table. For more tips on getting the most out of apple season check out our full article series on The Complete Guide To Baking With Apples for homemade desserts.