Why do my witch finger cookies spread or lose their bony shape?+
Keep the dough cool and use a shortbread style dough that is stiff rather than soft. Chill the shaped fingers on the tray before baking, and work in small batches so the dough does not warm in your hands; this is the single most common fix bakers recommend to keep fingers narrow and knuckled instead of puffy.
Should I press the almond into the dough before baking or attach it after?+
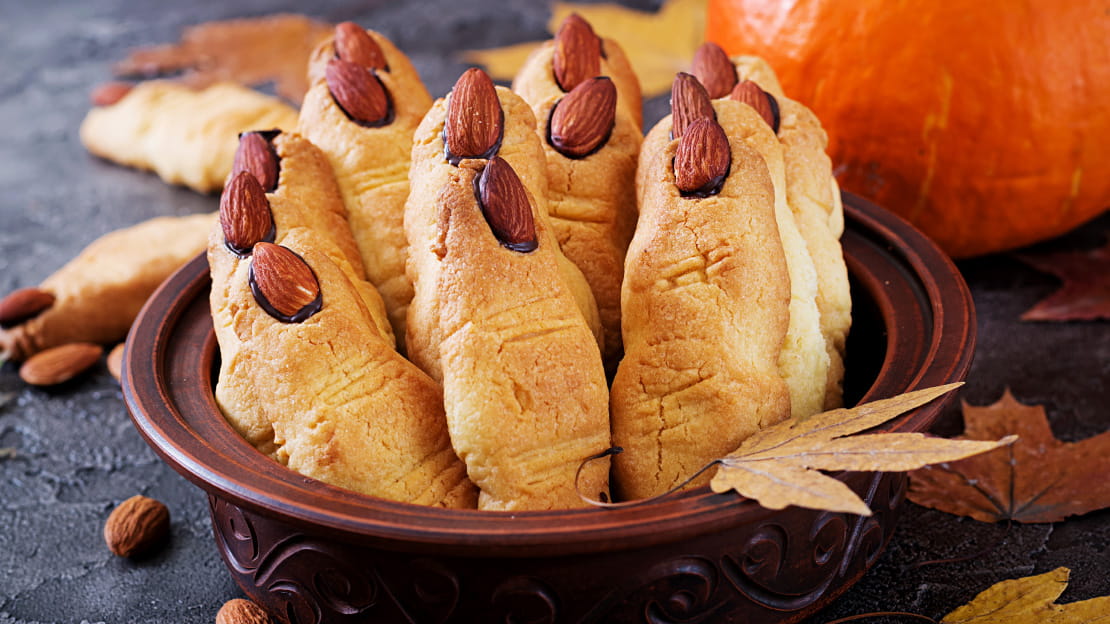
Either method is used, but many home bakers and recipe notes warn that almonds pressed lightly before baking sometimes loosen or fall out; a very reliable approach is to bake the cookies, put a small dot of melted chocolate or jam on the cooled tip, then press the whole almond into that dot so it is glued in place and looks like the photo. This gives better hold and a cleaner result.
Which dough gives the best texture and look for witch fingers: shortbread or sugar cookie?+
A shortbread-style dough or a firmer shortbread-like cookie is the best match for the thin, slightly crumbly fingers in the photo; it holds shape well and gives that tender, melt-in-the-mouth bite. Adding a small amount of cornflour or using icing sugar in the dry mix keeps the cookies tender and gives the classic shortbread texture many bakers prefer for this design.
How do I get the pale golden colour and knuckle details like the photo without overbaking?+
Bake at a moderate temperature and watch for pale edges rather than deep browning; many bakers recommend baking at a slightly lower temperature and a little longer so the cookies set without darkening. Score knuckle lines and pinch the dough to form creases before chilling and baking, and you can gently reshape any details immediately after they come out of the oven if needed.
Why do almond nails fall off and how do I prevent that?+
Almonds can pop loose if they were not set securely or the cookie surface shifted during baking. Pressing an almond into a cooled cookie with a dab of melted chocolate or jam fixes it in place and avoids the falling off problem many people report; using blanched almonds gives the neat pale nail look seen in the photo.
How should I store these cookies and how long will they keep?+
Once the cookies are fully cool and any chocolate or jam set, store them in an airtight container at room temperature; most recipe notes and home bakers report they stay good for about 3 to 7 days depending on recipe and filling. You can freeze baked cookies (without the almond glued on) for longer storage and add the almonds after thawing and setting with chocolate.